evergreen · Tools
Why AI 3D Models Fail to Print (and How to Fix Them)
By Leo · Updated 2026-09-05
The short answer
AI 3D generators are trained to produce models that look right on a screen. Printers demand models that are geometrically valid: watertight, thick enough, self-supporting. The gap between those two standards is why your slicer throws errors at output that renders beautifully. There are five specific failure modes — and a repair workflow that fixes nearly all of them.
Failure mode 1: Non-manifold (not watertight) meshes
What it is: the mesh has holes, edges shared by more than two triangles, or internal faces. Slicers can’t determine what’s “inside”, so they guess — badly.
How you see it: slicer warnings (“model is not manifold”), gaps in the sliced preview, random missing walls.
Fix: run the model through a repair tool. Windows 3D Builder’s import repair fixes a surprising share silently. MeshMixer’s “Make Solid” is the heavier hammer that rebuilds the entire surface — it always works but costs detail. Your slicer’s built-in repair (PrusaSlicer/Cura/Bambu Studio all have one) is the quickest first attempt.
Failure mode 2: Zero or negative wall thickness
What it is: features thinner than a layer width — cloth, hair, fins, blades. The slicer can’t produce walls where the model has none.
How you see it: parts of the print simply don’t exist in the preview; or first layers with unattached islands.
Fix: scale the model up (if the feature grows past ~0.8 mm, it becomes printable), thicken features in a mesh editor, or accept the feature will vanish. This is the failure mode that most often requires rethinking the model.
Failure mode 3: Floating shells and internal geometry
What it is: disconnected blobs inside or beside the main object, or leftover internal scaffolding from generation.
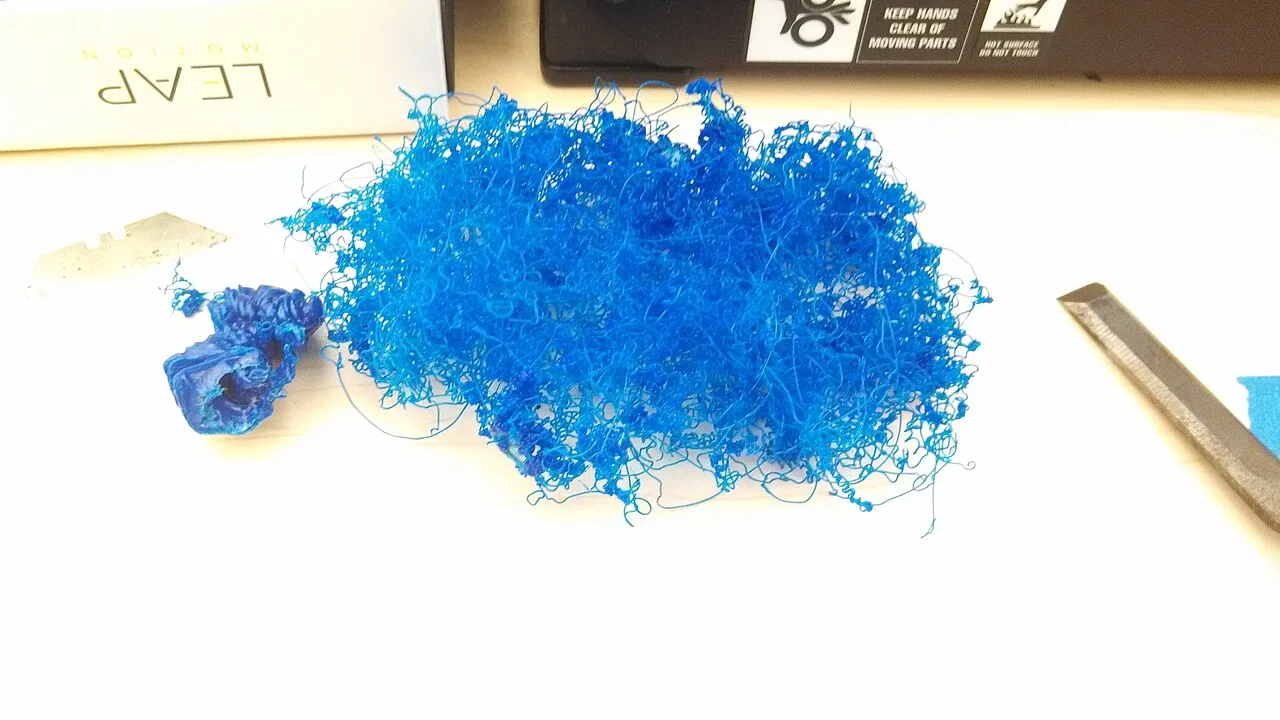
How you see it: everything slices, but the print has weird bumps; or tiny islands peel off mid-print and drag across the bed.
Fix: most repair tools detect and delete disconnected components below a size threshold. In MeshMixer: Select → isolate components → delete strays.
Failure mode 4: Over-dense meshes
What it is: millions of triangles from high-detail generation. It won’t fail the print, but it will choke your slicer, your printer’s processor, or both.
Fix: decimate. Reduce the mesh to ≤ 500K triangles for printing (detail beyond that doesn’t survive a 0.4 mm nozzle anyway).
Failure mode 5: Wrong scale and orientation
What it is: the model imports at 0.2 mm or 2 meters, or delicate overhangs point sideways.
Fix: mundane but real — verify dimensions in the slicer before printing, and orient for strength and supports. The printer doesn’t care how the model was made.
The repair workflow, in order
- Import into Windows 3D Builder → accept repair (fixes modes 1 and 3 cheaply)
- Import into slicer → check preview for gaps (mode 2) and sanity-check scale (mode 5)
- If still broken: MeshMixer → Make Solid (last resort, costs detail)
- Decimate if the file is huge (mode 4)
- Slice, inspect layer preview, then print
Ninety percent of AI models that “won’t print” become printable after step 1–2. The rest need step 3 or a rethink.
Where this is heading
The repair pass is a workaround, not a law of nature. The right place to fix printability is at generation time — models that come out watertight, with enforced minimum wall thickness, sized in real units. The industry is moving that direction, faster in marketing copy than in practice, which is why we run a public benchmark measuring exactly this across every generator: watertightness and print success on identical inputs, published either way. If you want the data the week it lands, the newsletter is where it appears first.
Which generator you start from matters too — some export cleaner meshes than others. Our tool coverage lives in the AI Tools hub: start with the Meshy review, the Meshy vs Tripo comparison, or the image-to-3D walkthrough, which includes the exact repair steps from this article applied to a real generation.
Why is my AI-generated 3D model not printable?
Usually because the mesh isn't watertight: holes, zero-thickness walls, or floating shells that a renderer tolerates but a slicer cannot. Run it through a repair pass — Windows 3D Builder's import repair or your slicer's built-in fixer — before slicing.
How do I make an AI 3D model watertight?
Quickest path: import into Windows 3D Builder and accept its repair prompt. Stubborn cases need MeshMixer's Make Solid, which rebuilds the surface at the cost of some detail.
What is the minimum wall thickness for 3D printing AI models?
For a 0.4 mm nozzle, design for at least 0.8 mm walls (two extrusion lines). Features below that either vanish in the slice or fail mid-print.
Which AI 3D generators produce printable models?
All of the major ones (Meshy, Tripo, Hunyuan 3D) produce printable models some of the time — none guarantee watertight output today, which is exactly what our public benchmark measures. Until that data lands, assume every AI model needs the repair pass in this article, and check our tool reviews for which exporters slicers complain about least.