tutorial · Tools
How to Turn an Image into a 3D Printable Model
By Leo · Updated 2026-08-04
What you’ll have at the end
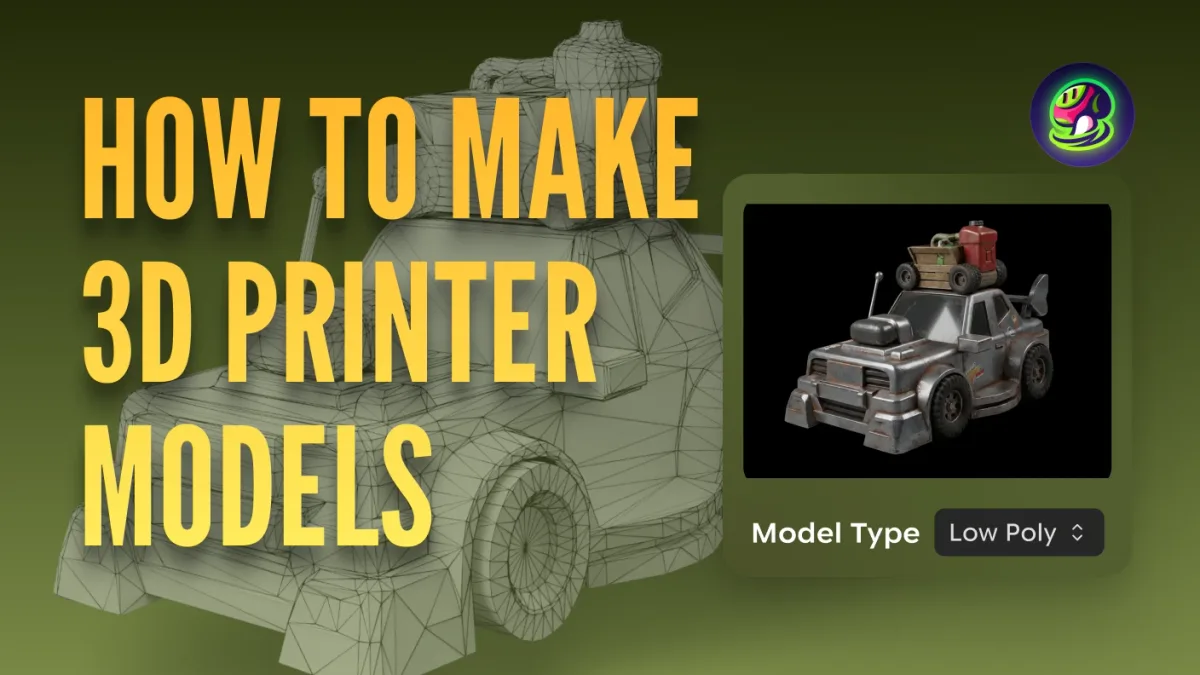
One photo in, one printable STL out — checked for watertightness, repaired if needed, sized correctly, and ready to slice. Total time: 15–30 minutes including the repair pass most tutorials forget to mention.
Prerequisites
- A reference photo (phone camera is fine)
- An AI generator — Meshy (free tier), Hunyuan 3D (free), or PrintPal all work for this workflow
- A repair/check tool: Windows 3D Builder (free, easiest), MeshMixer, or your slicer’s built-in repair
- A slicer (Bambu Studio, PrusaSlicer, Cura — all free)
Step 1: Choose a photo the AI can actually use
Generators struggle with: busy backgrounds, multiple objects, flat front-on faces, and thin structures. Best inputs are one object, clean background, diffuse lighting, and ideally a ¾ angle view. Crop tight before uploading — you, not the AI, control composition.
Step 2: Generate the model
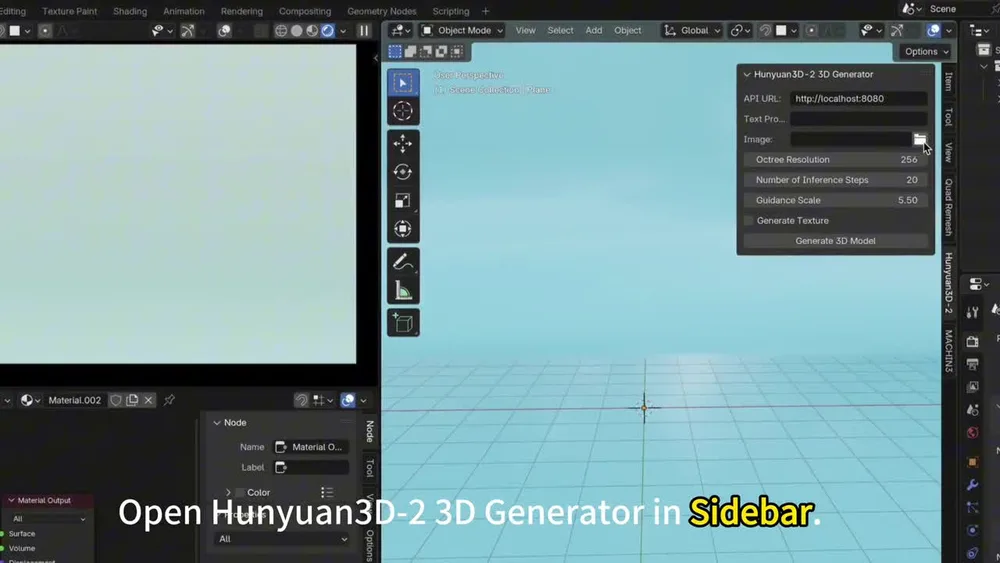
Upload the photo to your generator of choice and generate. Expect 30 seconds to a few minutes. If the first result has fused limbs or floating parts, adjust the photo (cleaner background, different angle) rather than burning many retries — input quality dominates output quality.
Step 3: Export as STL (or GLB→STL)
Export STL where available; GLB/OBJ exports convert to STL in Blender or directly in most slicers. Name the file meaningfully — you’ll generate a lot of these.
Step 4: Check watertightness before you slice
This is the step that separates a print from a wasted evening. Load the model into your slicer and look for the warning signs: “model is not manifold”, missing walls in preview, or gaps in the sliced layers. Windows 3D Builder’s import repair quietly fixes a surprising share of issues in one pass; MeshMixer gives you control over the rest.
Step 5: Check scale and wall thickness
AI output arrives at arbitrary scale. Size the model in your slicer, then inspect thin features: anything under ~0.8 mm wall thickness (0.4 mm nozzle) is a print-failure candidate. Scale up, thicken, or accept the risk consciously.
Step 6: Slice and print
Standard settings for the material (PLA: ~200 °C, 60 °C bed is a safe start). For figurines, slow the outer wall down. For functional parts, orient for layer strength.
Common failure modes and fixes
- Slicer says “not watertight” → Step 4 repair pass, then re-export
- First layer has gaps or blobs → model has zero-thickness spots; thicken or scale up
- Model prints but details vanish → features below nozzle resolution; scale up or simplify expectations
- AI output looks melted → bad input photo; clean the background and retry
The honest caveat
Every tool in this workflow improves fast, and the repair step is exactly what the industry is trying to eliminate at the source. We benchmark print-readiness across generators monthly — the newsletter carries the updates.
FAQ
Can I turn a photo into a 3D printable model for free?
Yes. Hunyuan 3D is free, and Meshy and PrintPal have free tiers. The generation step costs nothing; the workflow cost is your 10–15 minutes on the watertightness check and repair pass.
Why won't my AI-generated model print?
Almost always watertightness: AI meshes frequently contain holes, zero-thickness walls, or floating shells. Run the model through a repair tool (Windows 3D Builder or MeshMixer) before slicing — the step-by-step is in this guide.
What photo works best for image-to-3D?
One object, clean background, diffuse lighting, ¾ angle. Busy backgrounds and multiple objects are the most common cause of melted or fused output.